Seedboxes are essentially a way to privately share files via torrents. They are not public and will not be listed on sites like The Pirate Bay or Kickass Torrents. They’re quite easy to set up and maintain for a small fee. This tutorial will show you how to start sharing your fanedits via torrent on your own personal seedbox.
First you need an account on a seedbox. There are no free options but most offer a cheap package. The one we recommend is Seedbox.io and is highly regarded. They’re located in the Netherlands, a very privacy friendly nation, and as of this writing their base package is €5/month or roughly $5.75. For that you get 300GB of storage, 100Mbit transfer speed, and no bandwidth cap.
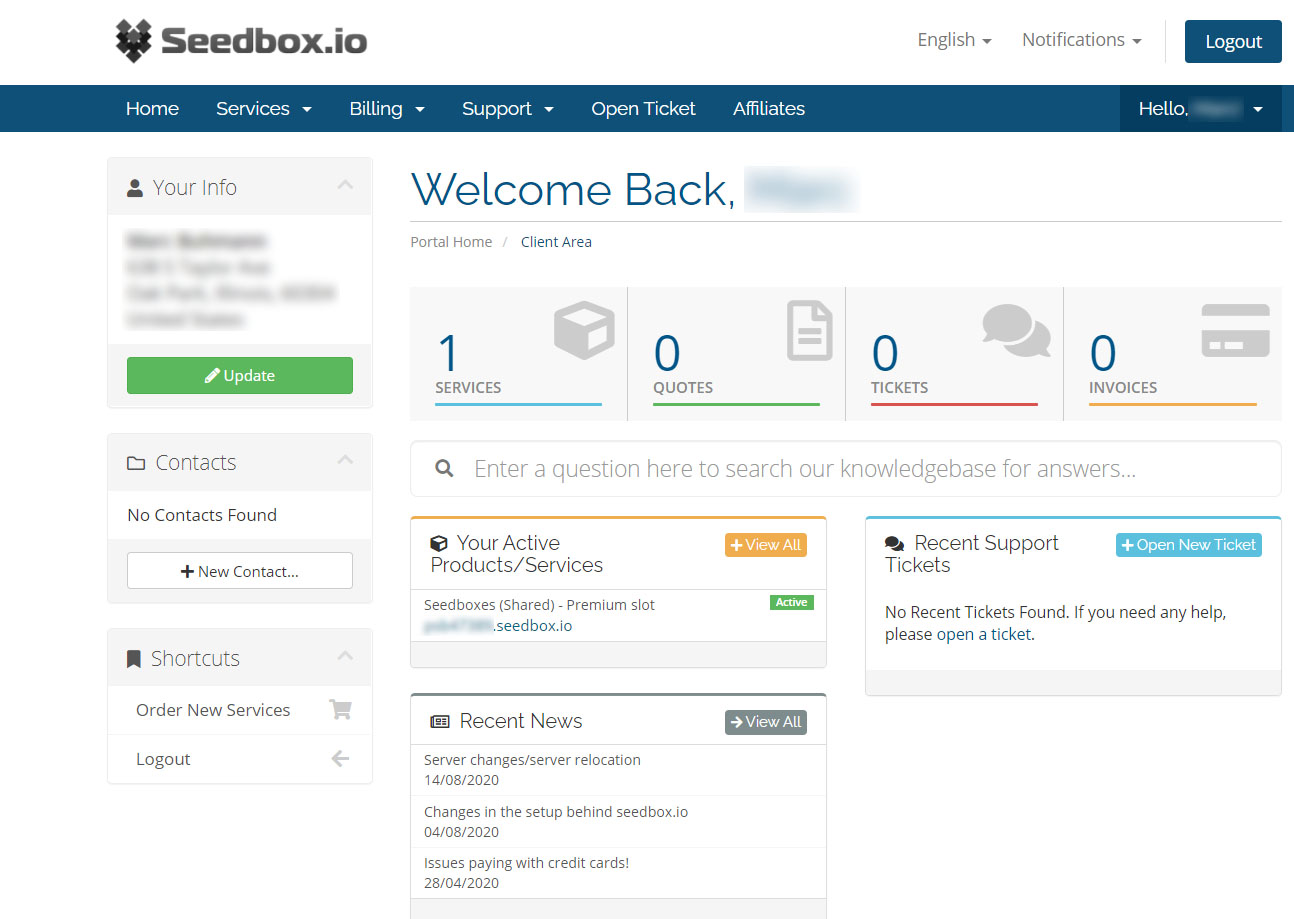
If you decide to use Seedbox.io then your client area should look something like this:
Figure 1
Now you’ll need to give the system some time to create the seedbox so give it about 5-min. Go back to then main screen by clicking the Home button, then click on the seedbox link under Your Active Products/Services.
You now should see a page similar to this:
Figure 2
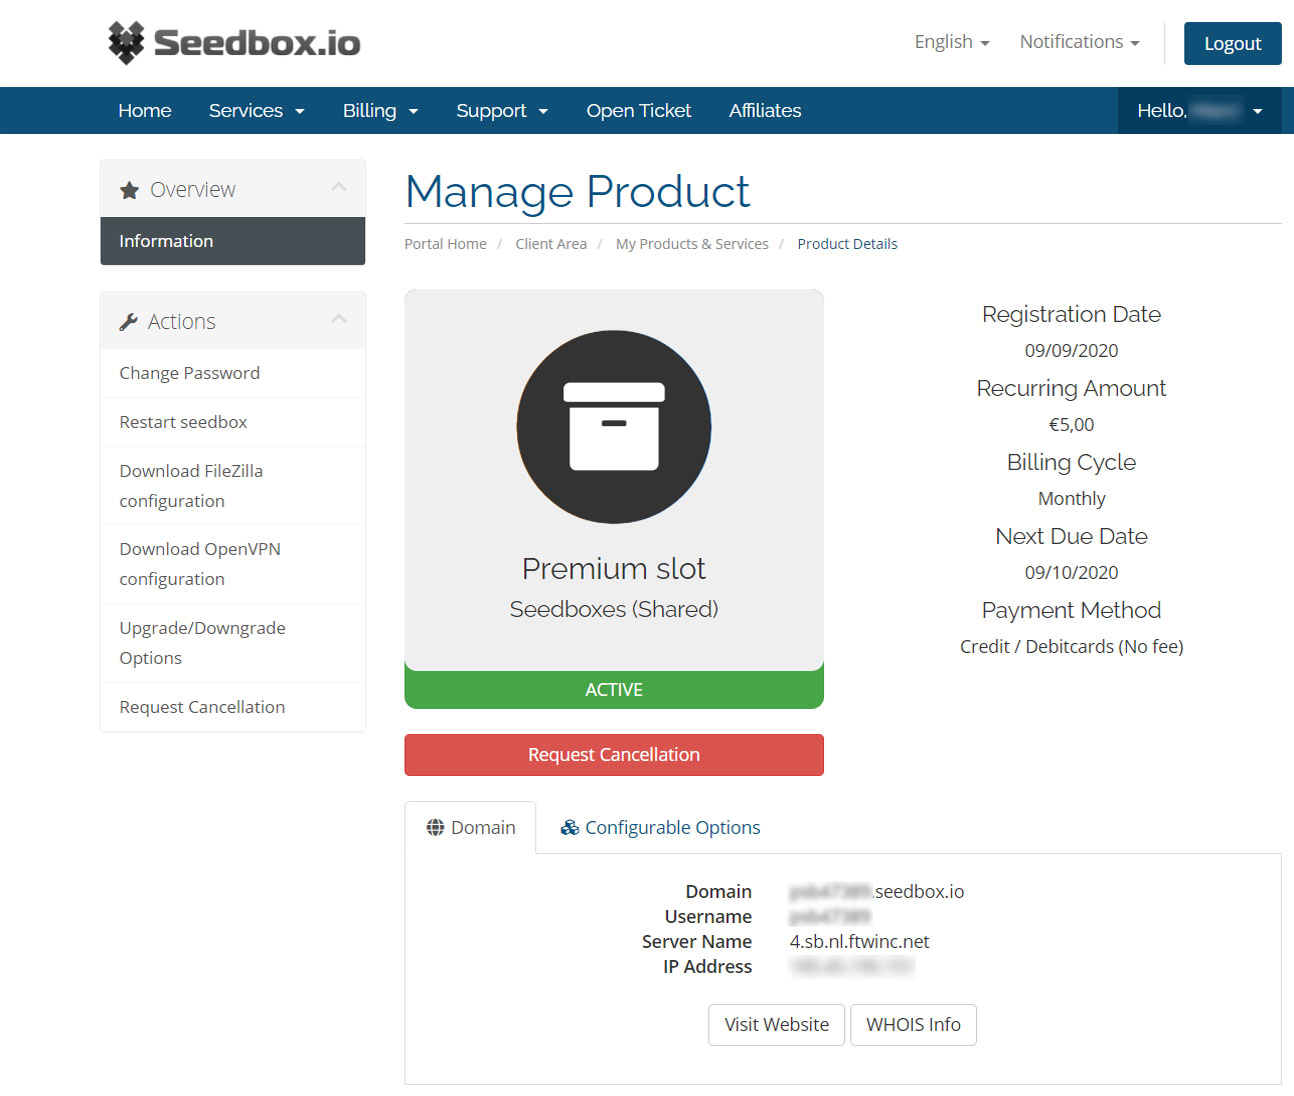
The first thing you need to do is add a password to your seedbox. Click on Change Password. Enter your password then Save. If it doesn’t take you back to the previous screen simply click on Information.
Now you need to upload your files to your seedbox. For this you need an FTP client. There are a lot of free ones out there, but one that is available for both Windows and Mac is Filezilla. For an easier setup, be sure you download the Filezilla configuration file from the left column.
Note: Filezilla it’s free software so they may try to encourage you to install additional software. We highly suggest you DECLINE these offers.
Once Filezilla is installed, open it and click File -> Import and choose the XML file you downloaded from Seedbox.io. Now click File -> Site Manager. It will look similar to this:
Figure 3
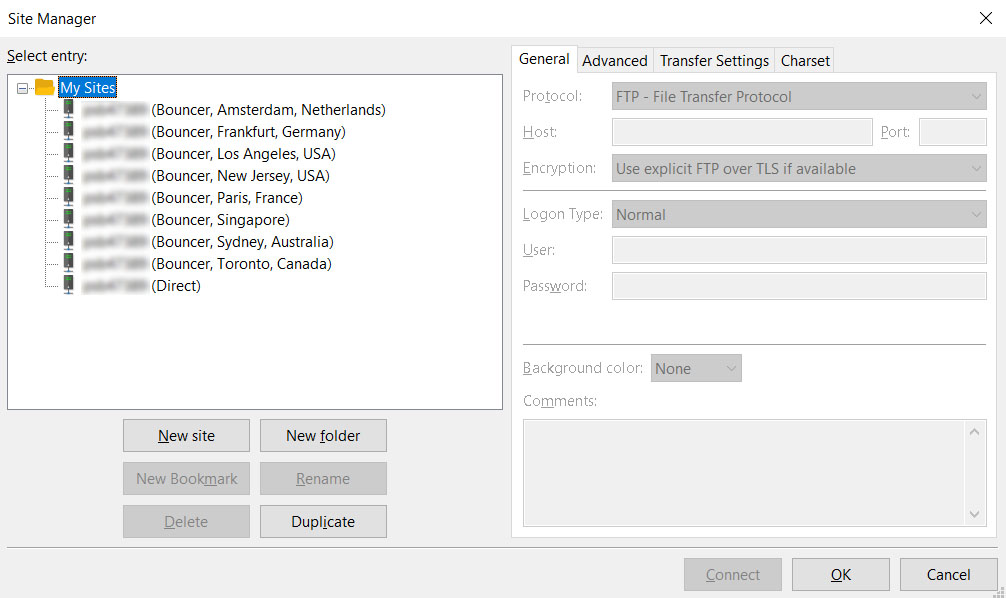
Click on the (Direct) one then the Connect button. Now in the right column click on the Files directory. This is where you’ll upload your files. Give it time to upload your files once that’s done go ahead and close Filezilla and head back to Seedbox.io. Make note of your Username, then click Visit Website. (See Figure 2). If asked to log in, enter your username and password. You will then see your torrent manager.
Figure 4
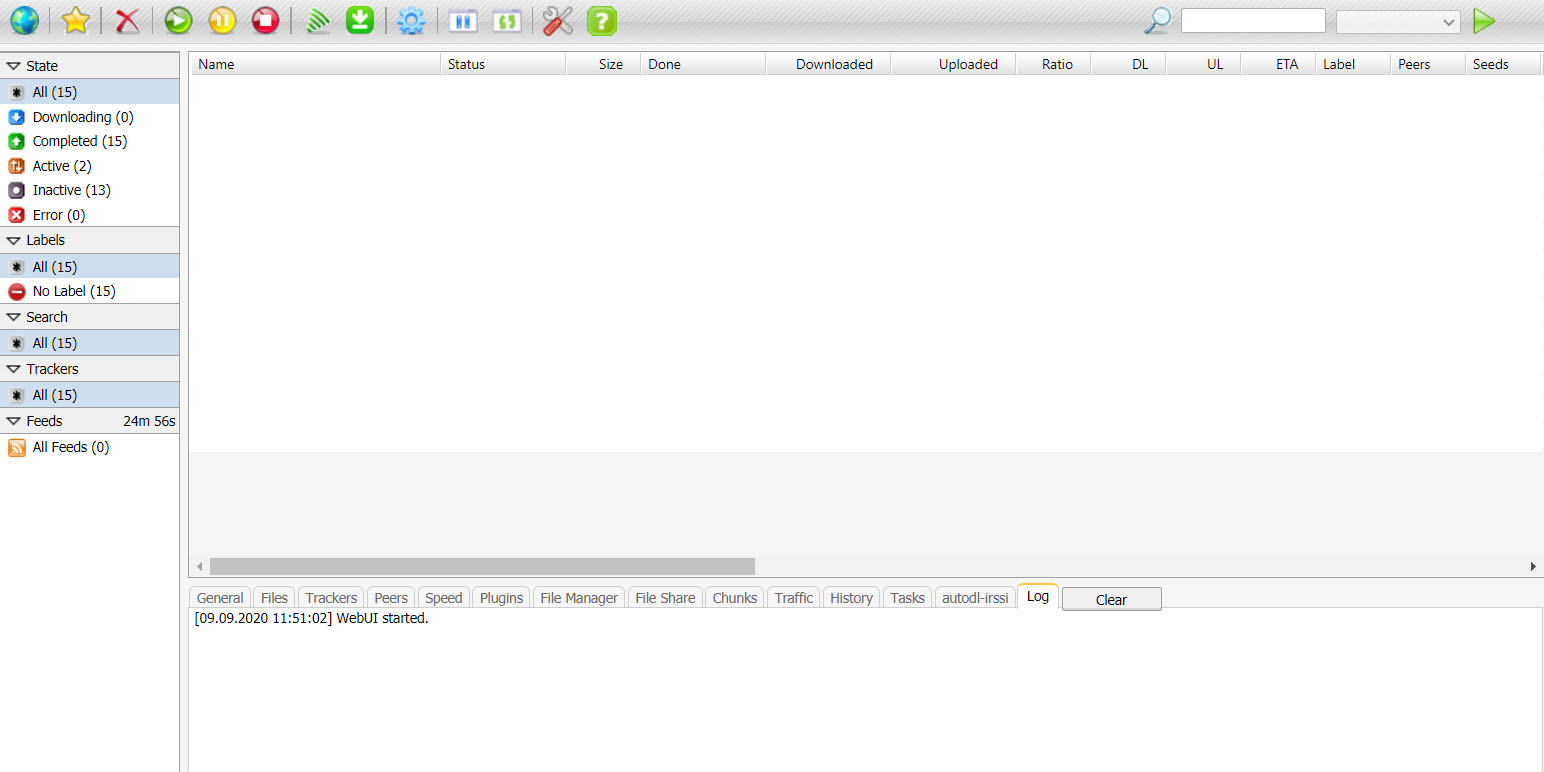
The easiest way to create a torrent is by clicking on File Manager from the bottom tab list. It will show you the files you uploaded through Filezilla. Right-click the file and choose Create -> New .torrent.
Figure 5
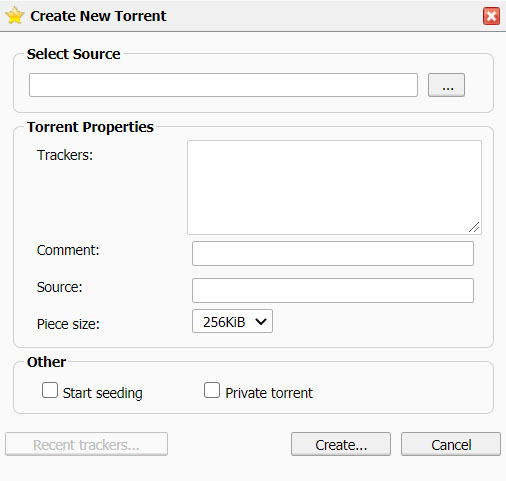
If your torrent is less than 8GB you can leave the Piece size at 256KiB. If it’s more than 8GB you should choose 512KiB. Check Start seeding and then click Create. Once the torrent is created click Save to download a copy. Your torrent should now be listed in the box above.
If for some reason your torrent isn’t listed we can add it manually. Click the World icon (Add Torrent) from the top toolbar.
Figure 6
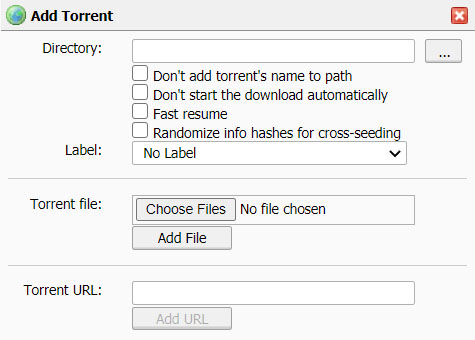
Click the … button next to Directory to make sure your ‘files’ directory is selected, then click the X. Click Choose Files and select the .torrent file you downloaded, then click Open. Click Add File. You should now see your torrent being checked. Once completed it will change to ‘Seeding’.
That’s it! Upload your .torrent file somewhere you can easily share it with people. They can then use that .torrent file with their favorite torrent program.